A patient case study by Dr. Brian Crowley
The state of dentistry today offers an ever-changing landscape, buoyed by continuous developments in technology and materials. Although keeping up with the evolution of technology can be daunting, it is one of my favorite parts of the profession. New technology allows us to provide a better experience for our patients — often in less time, and with less discomfort. The best part is that it enables us to better visualize the endpoint of a treatment plan before we even start … and to share this vision (of a future smile) with our patient.
The following case study features a long-time patient who had been considering some cosmetic dental work. I had the opportunity to use some of this technology to create a beautiful smile for her.
Step 1: The digital scan – before

The patient’s main concern was the crowding of her teeth, which made for an uneven appearance to her smile — especially along the upper front teeth where some were out too far and others were tucked too far in. I knew that for the most part, the teeth themselves were beautiful, they were just in the wrong position.
Enter the digital intraoral scanner, which has replaced the goopy impression material that was messy and frequently gag-inducing. The digital scanner is not only more accurate, but also utilizes a digital file that simplifies and streamlines the treatment process.
Step 2: Post-Invisalign simulation – a peek at the after, before
Once the scans are done, a simulation is created to show the patient how their teeth will look following Invisalign treatment. In this case, the initial proposal showed good overall alignment, but I was concerned about the asymmetrical gumline on her two front teeth (see initial proposed outcome image, below left).
The discrepancy is a result of the tooth being misaligned for many years, thereby wearing down at a faster rate. The patient and I agreed that we did not want to leave the teeth with an asymmetrical gumline. Fortunately, another benefit of the Invisalign software is that it allows for customized adjustments to the outcome, so I incorporated some upward movement of the tooth (called intrusion), to make the gumlines even (see adjusted image, below right).
I know what you’re thinking – now that tooth looks so much shorter! And of course it does, but we had planned for veneers on the two front teeth, to restore length to the one tooth and create wonderful symmetry between them both.
Step 3: Whitening and veneers
Through good patient compliance, we were able to achieve the predicted endpoint of the Invisalign treatment. Once this phase was completed, we used our KOR Whitening system to brighten all the teeth in anticipation of the veneers. The two front teeth required minimal preparation to receive the veneers. The proper planning and setup associated with the Invisalign treatment allowed for this conservative approach.
When it comes to front teeth, good esthetics and shade matching are paramount. In this case, the initial restorations were slightly off in color/shade, so they were sent back for refabrication. This isn’t an uncommon occurrence, but it highlights our commitment to achieving the best possible result for every patient.
Final results … drumroll, please!
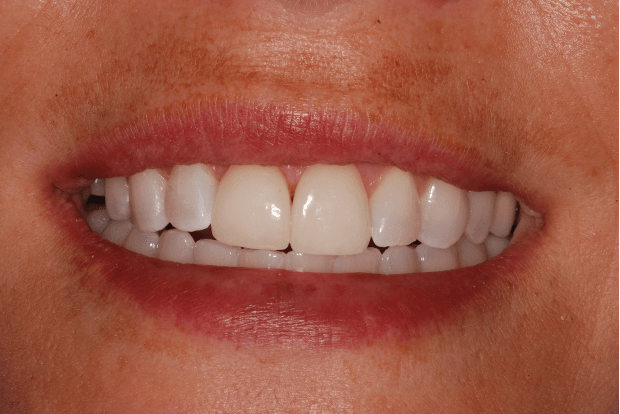
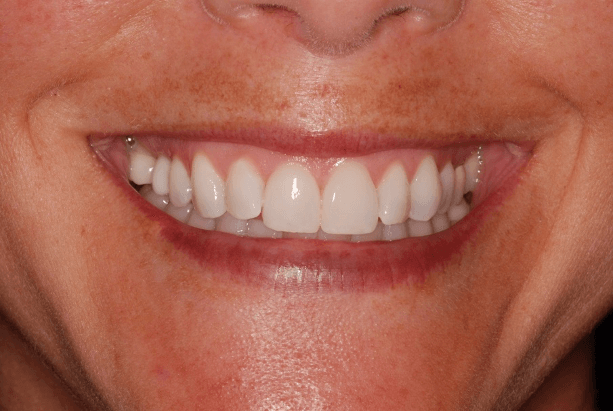
The stunning smile shown below is the culmination of proper planning, utilization of technology, the patient’s compliance with Invisalign treatment, and commitment to the finest quality dental care. I was happy to work with this patient and to create a beautiful smile for her. Effecting positive change in someone’s life is the most rewarding part of dentistry for me, and is something I will continue to endeavor for throughout my career.
Intrigued?
We would be happy to set up a consultation to discuss the options for your perfect smile.


